


How can we allow JUST an ip or ip range to have access to our AWS API Gateway endpoint? Learn how in this step by step tutorial.
In this article, I’m going to show you how to setup a Whitelist / Allowlist on our API built in Amazon API Gateway. Keep in mind this is being done using the REST protocol type. To date, this method is not supported for HTTP and Websocket configurations sicne they do not support Resource Policies.
We’re going to configure a simple GET API with a DOGS resource with an IP whitelist to allow requests from just MY IP address. This means requests originating from any other source ip will be automatically denied.
In terms of setup, I took the liberty of creating a lambda function called DogProcessor that returns a hard coded value, with code as seen below:

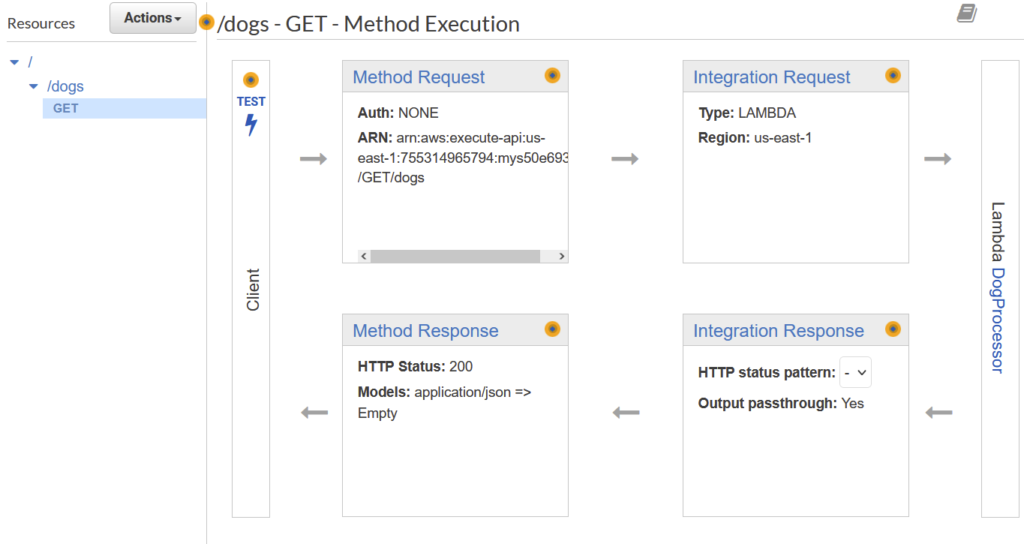
DogProcessor as the backend for our API Gateway endpoint. And here’s our existing DOGS resource with a GET API:
Now lets wire up our Lambda to our API Gateway and add IP whitelisting.
Note, if you need a step by step guide to create an setup very similar to what I’ve pre-created, check out my Youtube video below on Setting Up a REST API with Lambda.
Adding the Whitelist / Allowlist / InclusionList
After selecting your API on the api gateway homepage, navigate to the Resource Policy Tab on the left hand navigation pane as seen in the below image:

On the next page, you’ll see a large text box asking for a resource policy. The resource policy is just an IAM document that allows you to specify permissions on a specific API, a specific stage, or both.
Fill in the text area with the following text, your screen should look like the image below.
{
    "Version": "2012-10-17",
    "Statement": [
        {
            "Effect": "Allow",
            "Principal": "*",
            "Action": "execute-api:Invoke",
            "Resource": "*"
        },
        {
            "Effect": "Deny",
            "Principal": "*",
            "Action": "execute-api:Invoke",
            "Resource": "*",
            "Condition": {
                "NotIpAddress": {
                    "aws:SourceIp": [ "<YOUR IP ADDRESS HERE>" ]
                }
            }
        }
    ]
}
Lets take a moment to understand what these two policy statements mean.
The first statement is our default case. Its stating that we are going to Allow all Invoke actions against any of our Resources. Do note that the Resource can specify a particular API / Stage / Resource combination for fine grain access. In this example, we’re taking a blanket scenario and applying a whitelist to ALL of our APIs (which is just one).
You may enjoy this article on ‘The Most Important AWS Core Services ‘
The second statement is a bit of an interesting one. In this statement, we are using the Deny effect and applying a special Condition to apply our whitelist. We’re using the Condition NotIpAddress with a value array. Using double negatives is a bit confusing here, but what we’re effectively saying is Deny all requests that are not these IP address (or CIDR blocks). If we wordsmith this a bit, it can also be understood as Allow only these IP addresses.
Now, lets head over and fill in our IP address. Go over to www.whatismyip.com and grab your IP address and swap it out with the placeholder in the policy.

After swapping out your value, go ahead and click save in the bottom right.
Next, make sure you re-deploy your API by clicking on Resource (1), right clicking on the top level of your api (2), clicking the Actions dropdown (3), and clicking Deploy API (4).
You should be greeted by a URL that looks like mine in the image below:

Testing our Setup
Lets go ahead and test our configuration to make sure its working as expected. Take your Invoke URL from the previous step and put it in your browser. This should work by default since we’re using a GET api (which a browser request also is).
Don’t forget to add /dogs to the end of your url string to select the correct resource.
After pressing enter, you should get a JSON response that is coming from our Lambda function, like seen below:

To confirm this is indeed JUST our IP address allowed to hit this API, you can go ahead and go back to the Resource Policy section of your API and removing your IP address. Make sure to click Save, then Re-deploy the API. For some reason, the change can sometimes take a couple of minutes to be reflected, so be patient during this step. Mine took 3-4 minutes for the removal step to take effect.
Hit the URL again and you should see a screen like below:

Congrats! You secured your API gateway endpoint from the baddies.
If you have any questions or feedback, please leave it down below.


